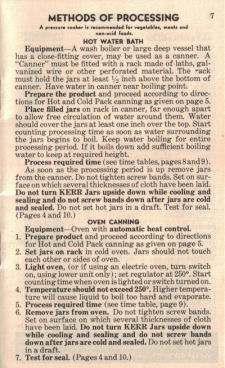
 Here is page 7 of the vintage Home Canning Guide by Kerr that was published in 1941. The page is retyped below along with a scanned copy, you can click it to view a larger image if you like.
To view all the pages in this booklet, please visit the Home Canning Guide: Kerr Category.
Also, please make sure to read Important: Safe Canning & Food Preservation before using any recipes or instructions regarding home canning, things have changed since this booklet was published.
A pressure cooker is recommended for vegetables, meats and non-acid foods.
HOT WATER BATH
Equipment–A wash boiler or large deep vessel that has a close-fitting cover, may be used as a canner. A “Canner” must be fitted with a rack made of laths, galvanized wire or other perforated material. The rack must hold the jars at least 1/2 inch above the bottom of canner. Have water in canner near boiling point.
Prepare the product and proceed according to directions for Hot and Cold Pack canning as given on page 5.
Place filled jars on rack in canner, far enough apart to allow free circulation of water around them. Water should cover the jars at least one inch over the top. Start counting processing time as soon as water surrounding the jars begins to boil. Keep water boiling for entire processing period. If it boils down add sufficient boiling water to keep at required height.
Process required time (see time tables, pages 8 and 9).
As soon as the processing period is up remove jars from the canner. Do not tighten screw bands. Set on surface on which several thicknesses of cloth have been laid. Do not turn KERR Jars upside down while cooling and sealing and do not screw bands down after jars are cold and sealed. Do not set hot jars in a draft. Test for seal. (Pages 4 and 10.)
OVEN CANNING
Equipment–Oven with automatic heat control.
1. Prepare product and proceed according to directions for Hot and Cold Pack canning as given on page 5.
2. Set jars on rack in cold oven. Jars should not touch each other or sides of oven.
3. Light oven, (or if using an electric oven, turn switch on, using lower unit only); set regulator at 250°. Start counting time when oven is lighted or switch turned on.
4. Temperature should not exceed 250°. Higher temperature will cause liquid to boil too hard and evaporate.
5. Process required time (see time table, page 9).
6. Remove jars from oven. Do not tighten screw bands. Set on surface on which several thicknesses of cloth have been laid. Do not turn KERR Jars upside down while cooling and sealing and do not screw bands down after jars are cold and sealed. Do not set hot jars in a draft.
7. Test for seal. (Pages 4 and 10).
 More Recipes For You To Enjoy:
3 Responses to Hot Water Bath Method – Vintage Home Canning Guide
How long should I open bath quarts of potatoes?
how long do you process fresh potatoes in a water bath?
You need to pressure can potatoes. Not water bath them.


