
 Here is page 6 of the vintage Home Canning Guide by Kerr that was published in 1941. The page is retyped below along with a scanned copy, you can click it to view a larger image if you like.
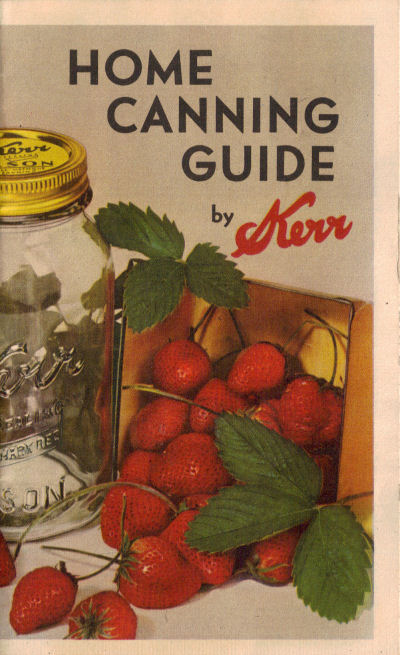
To view all the pages in this booklet, please visit the Home Canning Guide: Kerr Category.
Also, please make sure to read Important: Safe Canning & Food Preservation before using any recipes or instructions regarding home canning, things have changed since this booklet was published.
 METHODS OF PROCESSING
The application of heat to products in the jar is called “processing”. Regardless of the condition of the product or its method of preparation, foods will spoil if not processed for the required length of time. Use KERR Jars for all methods of processing.
The hot water bath (or oven) is preferable for processing fruits and tomatoes. They are acid foods and can be safely at boiling temperatures and the texture, color and flavor of the finished product are better.
A Pressure Cooker is recommended for processing vegetables, meats and non-acid foods as it gives a greater degree of safety. However the canning may be successfully done by other methods of processing.
PRESSURE COOKER
Equipment–pressure cooker fitted with rack in the bottom, steam tight cover, petcock and pressure gauge.
1. Prepare product and proceed according to directions for Hot and Cold Pack canning given on page 5.
2. Place rack in bottom of cooker and add enough hot water to bring up to level of rack.
3. Place the filled jars on the rack in the cooker. Prepare only enough jars at one time to fill the cooker. Do not allow jars to touch.
4. Adjust the cover of cooker and fasten securely by tightening opposite clamps or adjusting the band.
5. Leave the petcock open until a jet of steam has been spurting from the petcock for 7 to 10 minutes. Then close petcock and start counting processing time from the minute the required amount of pressure is indicated on the pressure gauge. Keep pressure uniform throughout the processing period.
6. Process required time (see time tables, pages 8 and 9).
7. Remove cooker from the fire as soon as the processing time is up and allow the indicator on the pressure gauge to return to zero. Then open petcock gradually.
8. Remove jars from cooker. Do not tighten screw bands. Set on surface on which several thicknesses of cloth have been laid. Do not turn KERR Jars upside down while cooling and sealing and do not screw bands down after jars are cold and sealed. Do not set hot jars in a draft.
9. Test for seal. (Pages 4 and 10.)
The U.S. Department of Agriculture recommends the use of a pressure cooker for canning non-acid vegetables and meats.
STEAM COOKER
Start counting processing time when cooker is well filled with steam. Follow water bath time tables.
 More Recipes For You To Enjoy:

2 Responses to Pressure Cooker Method – Vintage Home Canning Guide
I’m looking for a recipe for canned pumpkin pie with the suger and spices in it. I know I need to add eggs and milk later but need the canned starter
I have a pressure cooker thats been stored in the barn for over seventy years. How can I determine the safety of using it today. It looks the same as the day it was stored. Thank you
RecipeCurio.com

-
Subscribe to Feeds:
